Fabric Requirements:
Print Fabric (8) 6.5"x6.5"
White (7) 6.5"x6.5"
Blue (1) 3.25"x6.5"
Orange (1) 3.25"x6.5"
Tool Requirements:
Rotary cutter and mat, straight edge, scissors, sewing machine, thread, straight pins, iron and ironing board.
Cutting Instructions:
Cut each of the 6.5" square in half so there are 14 white rectangles and 16 print fabric rectangles, each 3.25"x6.5".
Piecing Instructions:
- Match right-sides together the print fabric rectangles to 14 white rectangles, the blue, and the orange rectangle. Pin if desired
- Sew along on long edge of the 16 rectangle pairs, creating 16 blocks.
- Open the blocks and press the seams to the print fabric side.
- Match right-sides together 8 block pairs and sew along the long edges, creating 8 half rows. !Important! I put the solid blocks at the beginning and end of their rows but their placement in your quilt is up to you.
- Open the half rows and press the seams to the print fabric side.
- Match right-sides together 4 half-row pairs and sew along the short edges, creating 4 rows.
- Open the rows and press the seams to the print fabric side.
- Match right-sides together 2 row pairs, pinning to be sure the seams nest correctly, and sew along the long edges, creating the top and bottom sections.
- Open the sections and press the seams open.
- Match right-sides together the top and bottom section, pinning to be sure the seam nest correctly, and sew along the long edge, creating the quilt top.
- Open the quilt top and press the seam open.

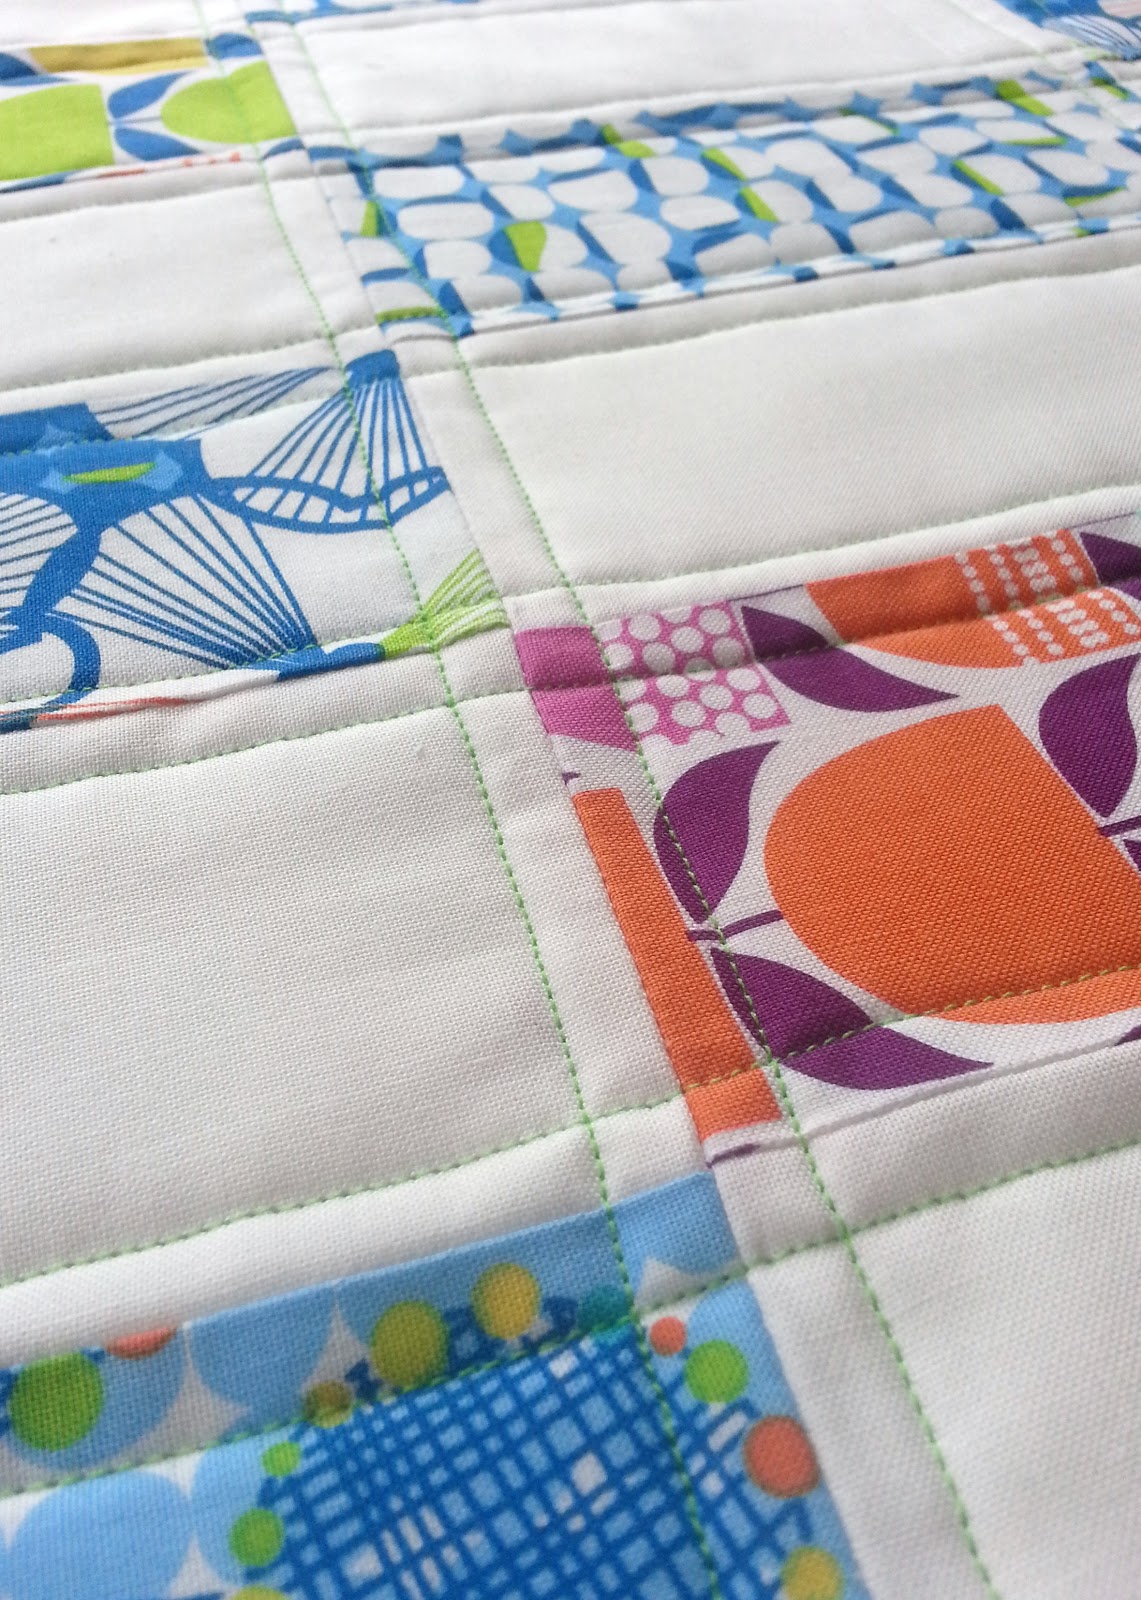
Quilting Recommendations:
I used straight line quilting on this mini. By offsetting my stitch in the ditch 1/2" on either side of the seams, the mini is textured and the rectangles have a little lift in the center.
No comments:
Post a Comment